Installation of Shipping Container Endoskeletons
Step by step instructions for Endoskeleton installation of the panels for a standard shipping container
Images are simplified for clarity
Panel 1
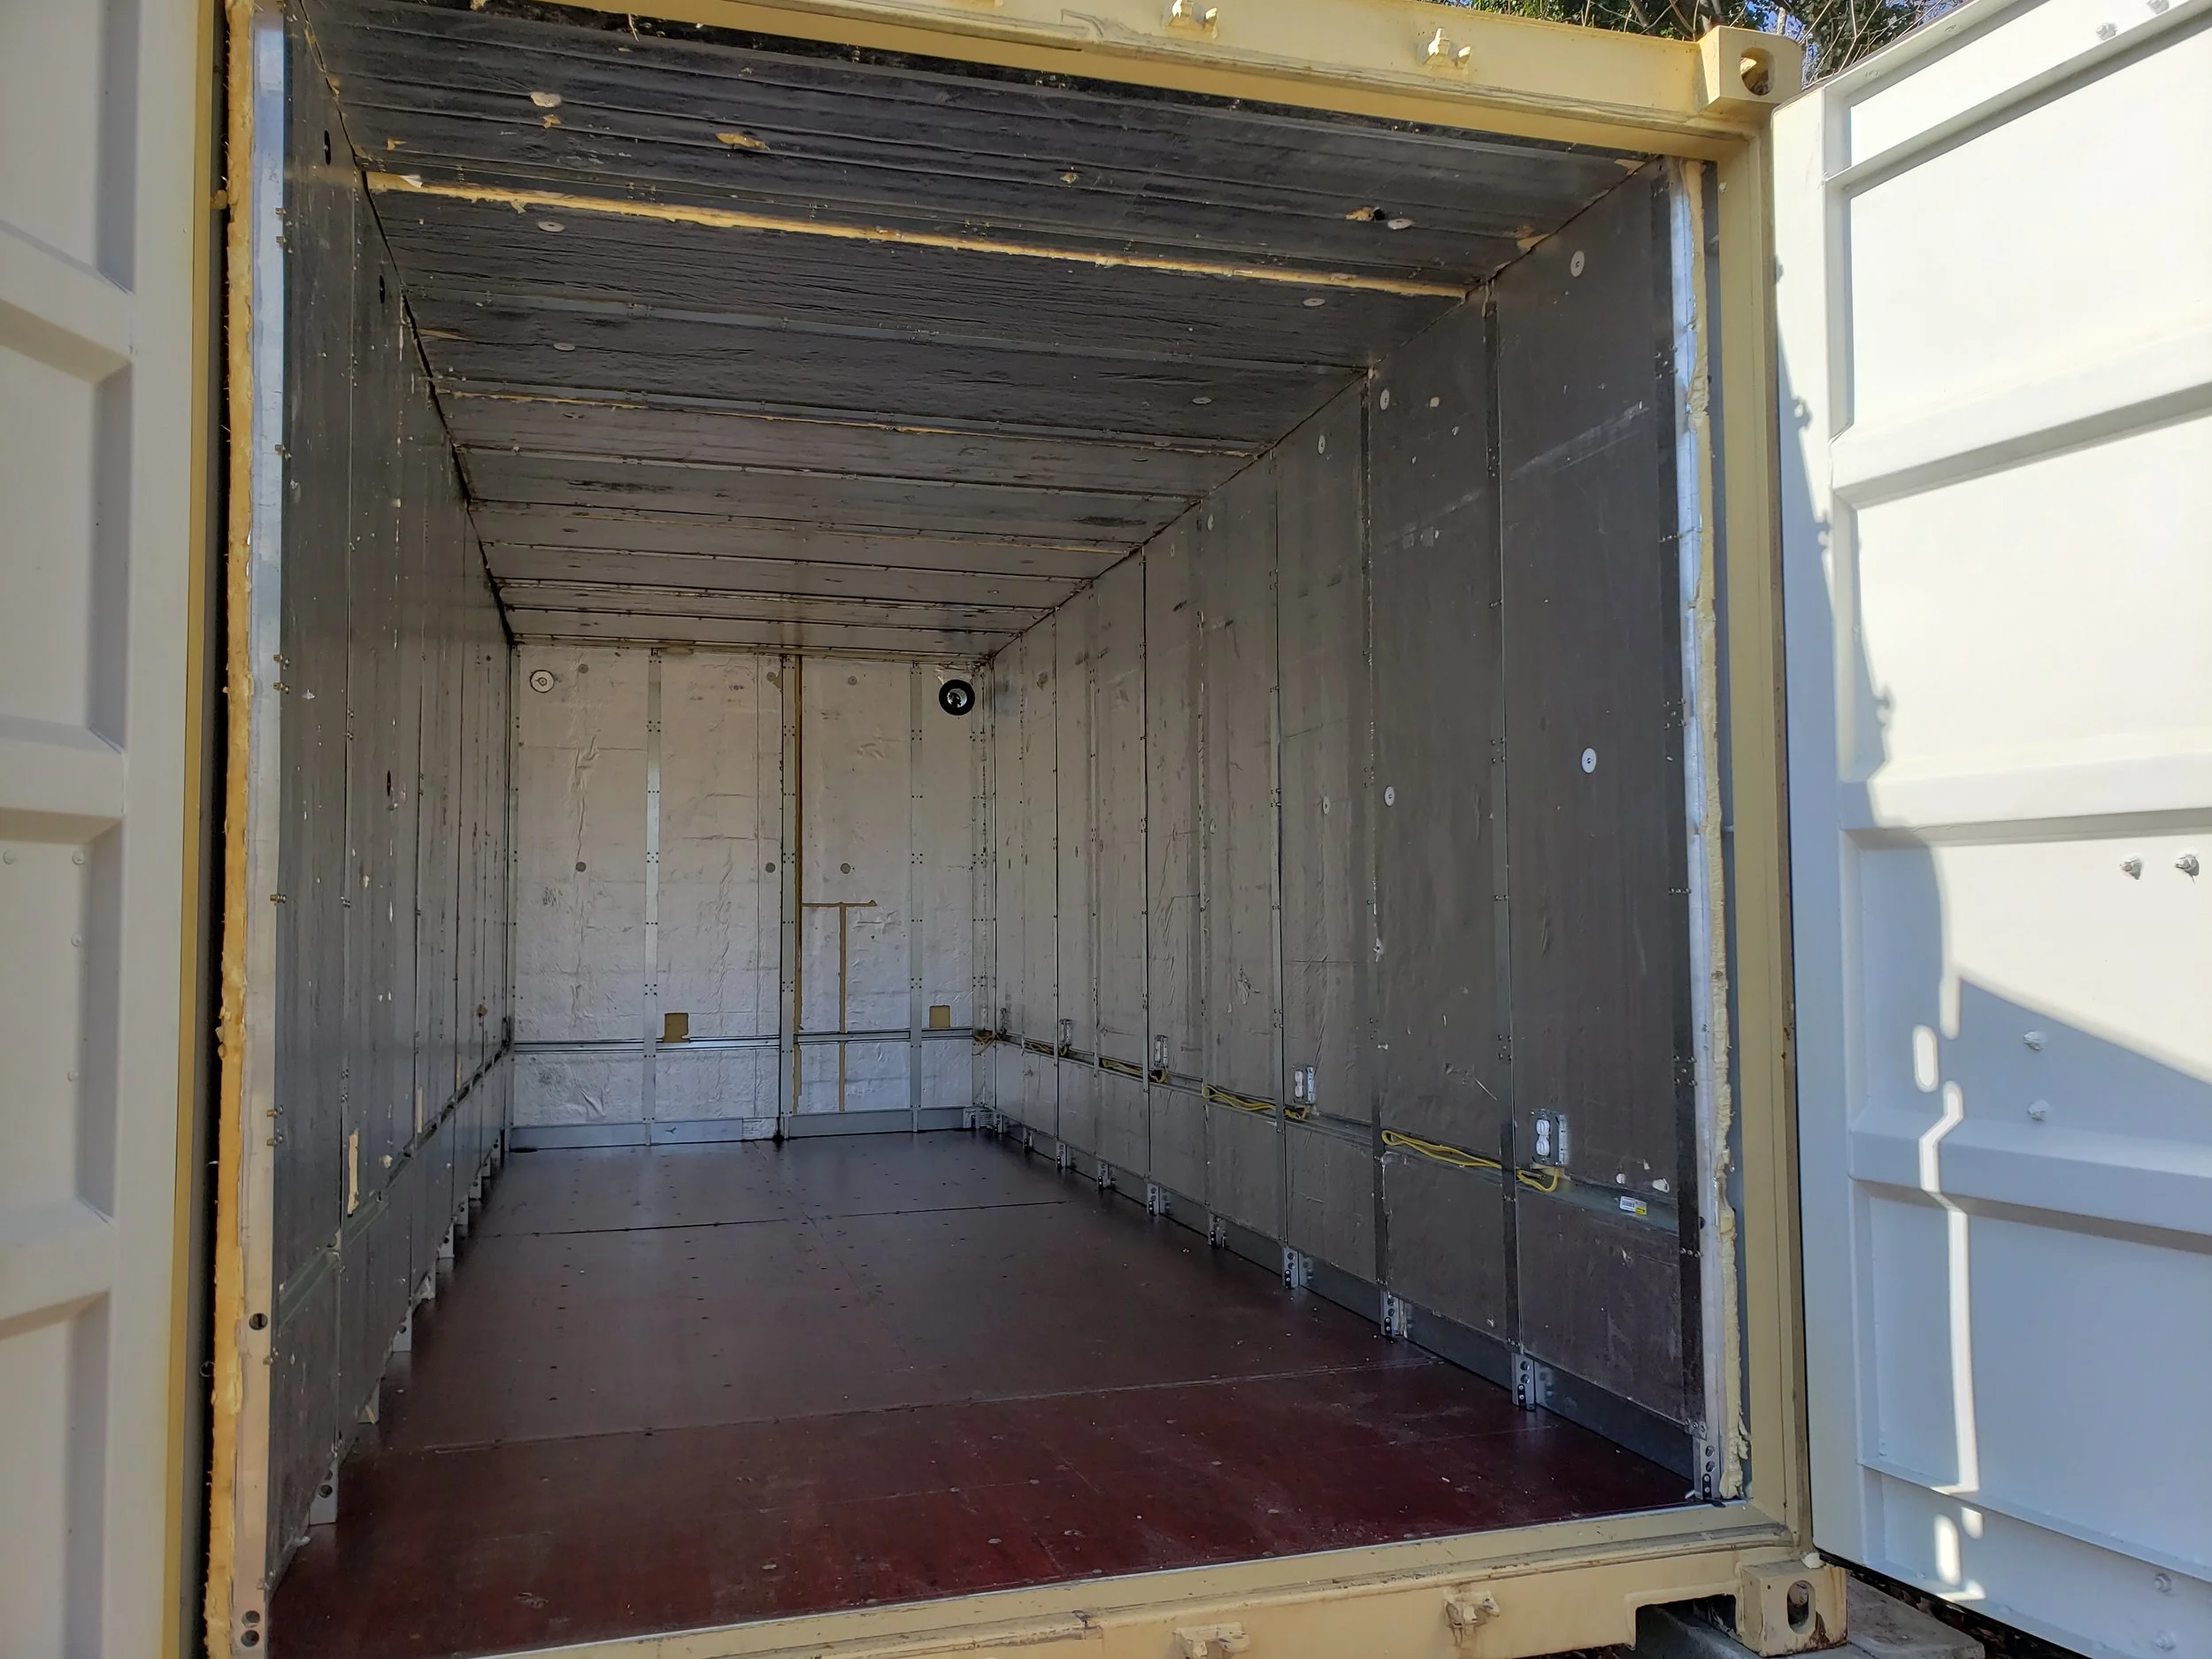
In an empty shipping container you’ll start with the first rear wall panel labeled 1 on the right side of the back wall. The first 2 panels will have magnets at the top to assist with holding the panel in place.
Panel 2
Install panel 2 labeled 2 on the left side of the container wall. This panel will also have a magnets at the top to hold the panel in place.
Panel 3
Slide panel 3 labeled 3 on the left side of the box. This will support the back left panel from falling forward in addition to the support of the magnets in the event of a solo install.
Panel 4
Panel 4 labeled 4 will be installed the same as panel 3. Once in place your back wall is fully supported by the sidewall panels.
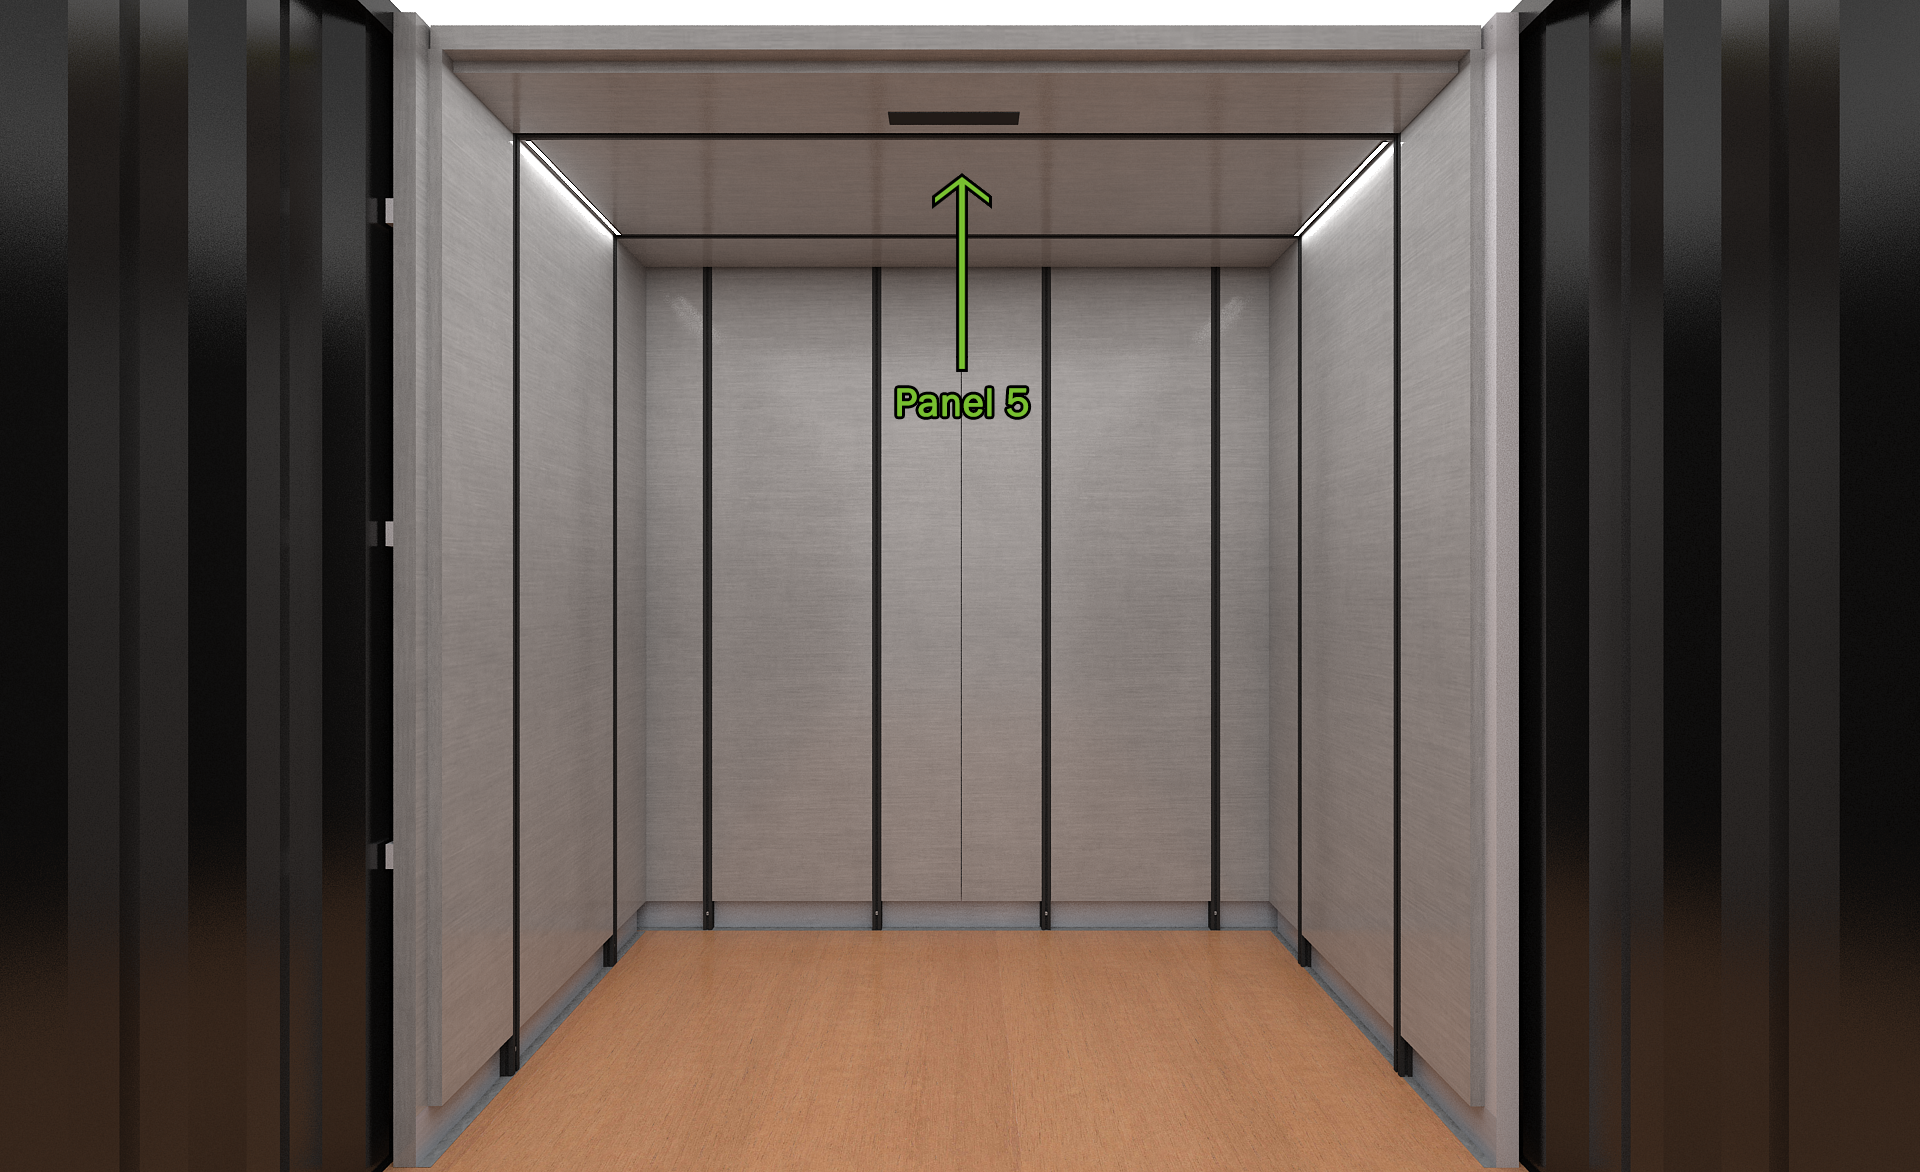
Panel 5
Now you’re ready to install the first ceiling panel. This will assist in keeping your sidewall panels stabilized during the remainder of the install process. This panel is identified by the label 5 and is noticeably shorter in length than your wall panels and width than your ceiling panels.
Panel 6
Panel 6 will be labeled with a standard left panel label and will be installed the same as panel 3. Keep your first ceiling panel only partially pushed back against the back wall so that your panel 6 and 7 are braced until you can get your next ceiling panel in place.
Panel 7
Panel 7 is labeled a standard right panel label and is install the same as panel 4 by simply sliding the panel into place so that panel 7 and panel 4 are butted firmly against each other.
Panel 8
Panel 8 labeled with a standard ceiling label will be installed the same as panel 5. As on panel 5, only partially install the ceiling panel forward so that there’s a hangover over of the panel to keep your next set of sidewall panels braced until the next ceiling panel is installed. As each ceiling panel is set in place fully push forward the prior ceiling panel so they are fully butted against each other and the ceiling panels are fully aligned withe sidewall panels.
Continue this pattern of installation until you’ve reached the entrance of the container.
Final end panels
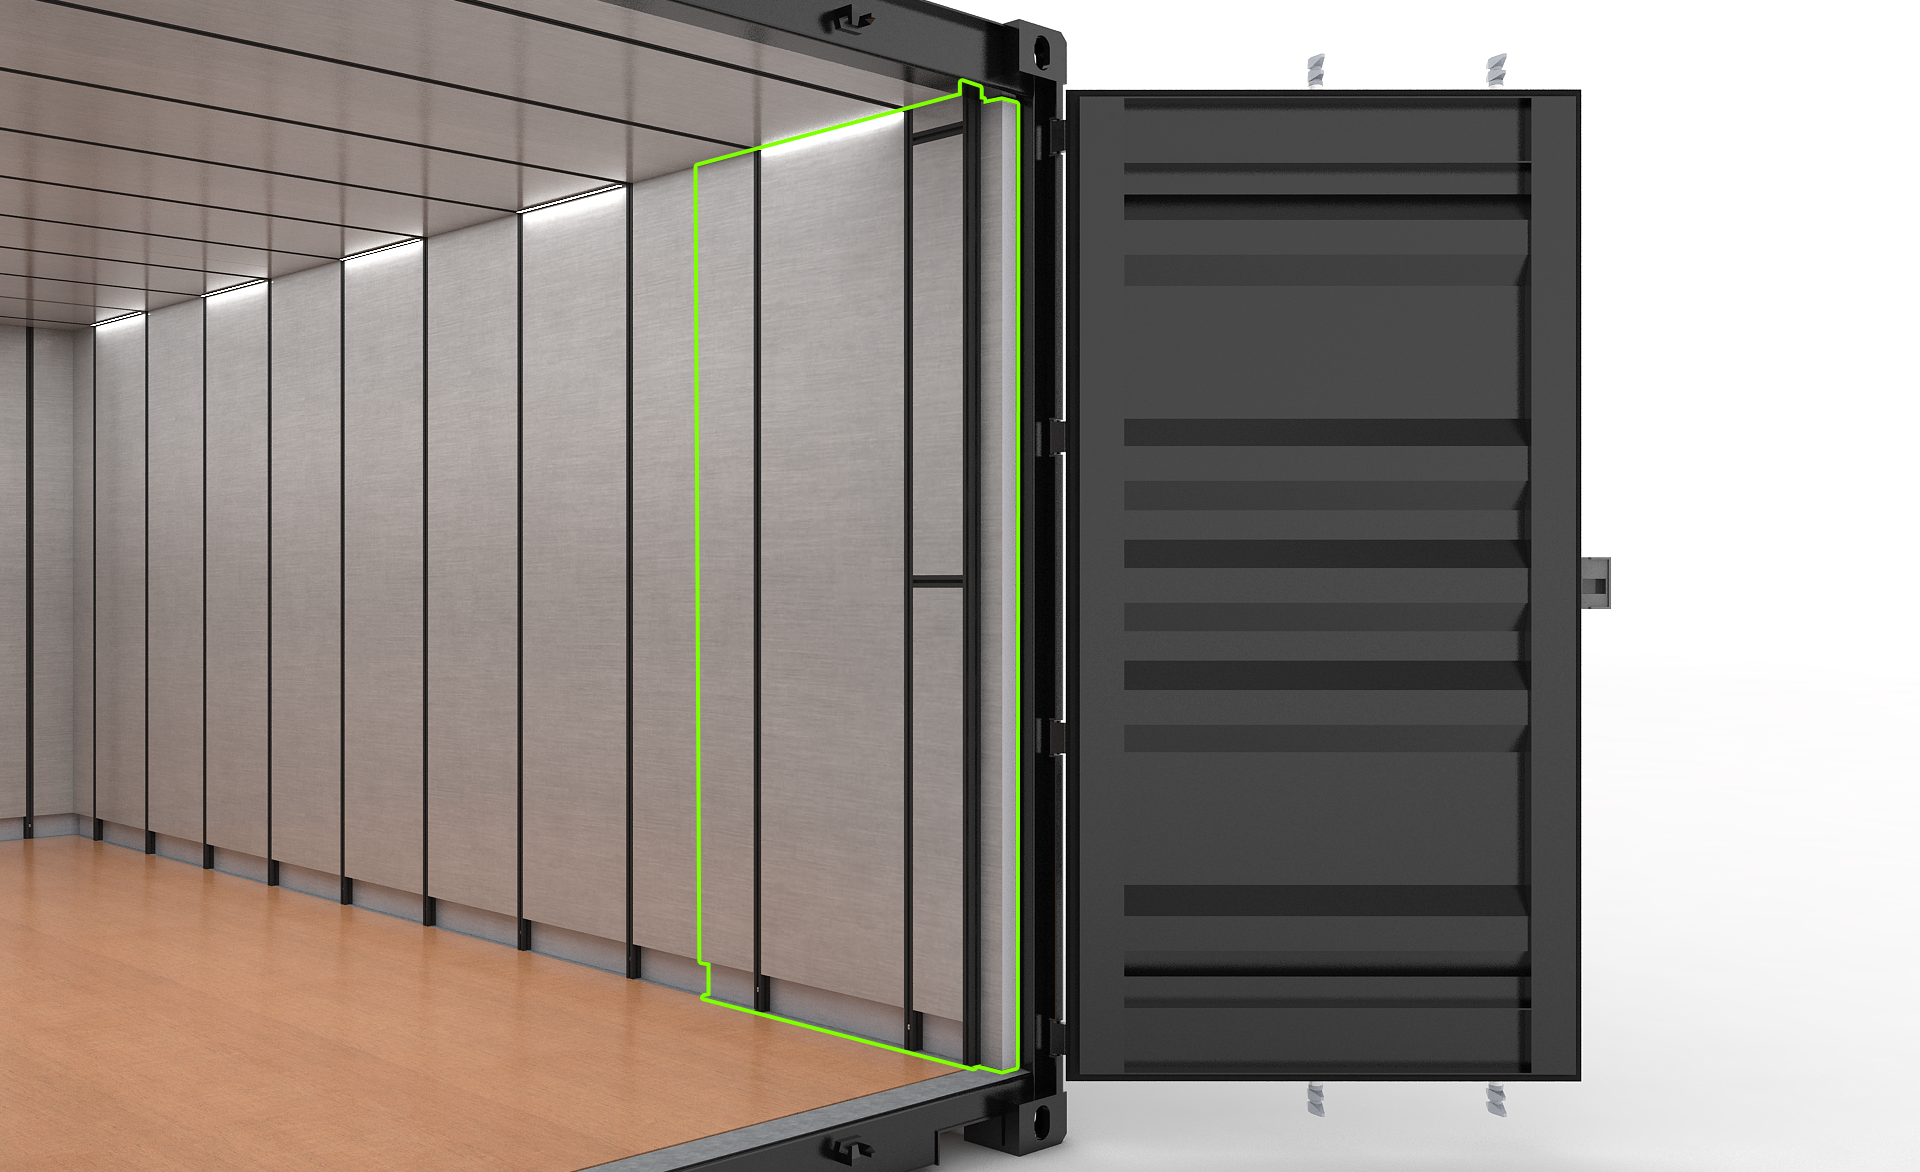
The final sidewall panels will be labeled with the end panel label for each side. These are different as they have reinforcement for the door bracing. Install the left wall panel as the standard panels have been installed leveraging the prior ceiling panel slightly overhanging as to brace it while the final 2 panels are installed.
Final ceiling panel
The final ceiling panel is noticeably sized different in width. This will differ in the prior process as you will hang it before you install the final right sidewall panel. To brace, make sure the prior right wall panel is pulled slightly towards the container doors to support the ceiling panel until the final right sidewall panel is slid into place.
Final right sidewall panel
Install the final right sidewall to complete the installation of the wall and ceiling panels.
Door Installs
The final attachment are the stock panelized doors for the Endoskeleton. Different details will be delivered if you’re using alternative door installation methods and materials.


